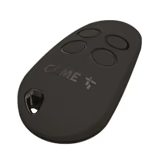

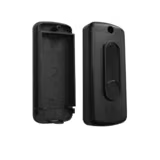
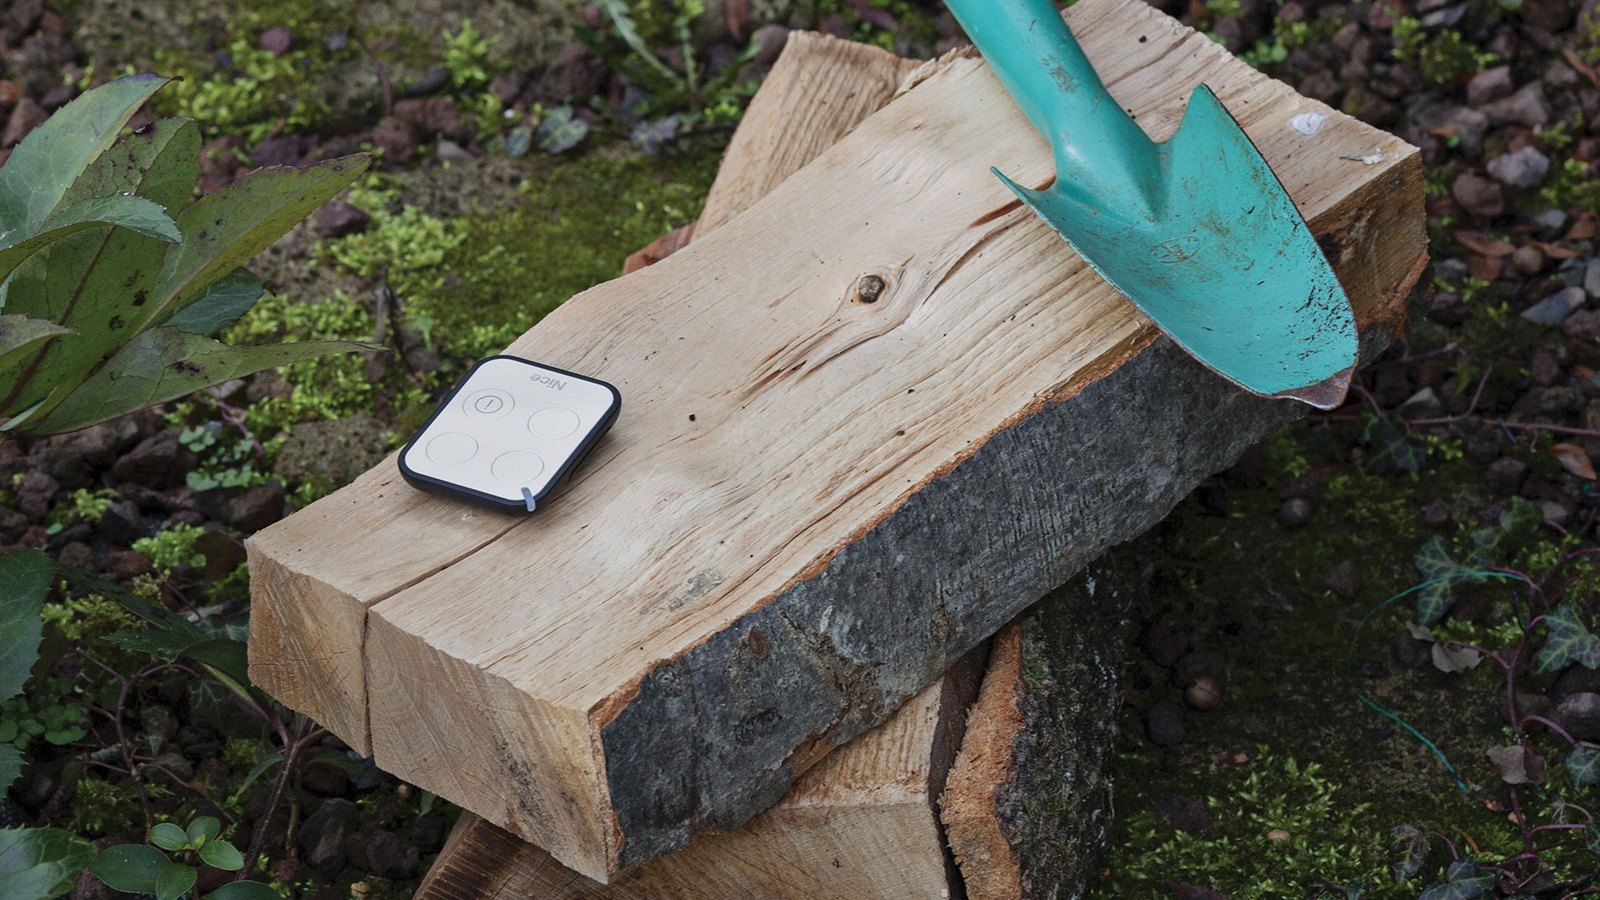
NICE BD (BiDi) remote controls offer several advanced functions compared with their predecessors, which we demonstrate in the following article.
NICE BD (or BiDi) radio accessories have been on the market for some time, but not everyone knows their advanced functions. The Italian company NICE is known above all for its sense of design, but it does not lag behind in technological innovation either. Although the German company Hörmann has offered an equivalent of BiDi technology for several years in the form of its patented two-way BiSecur encryption. The abbreviation BiDi (bidirectional) in fact means two-way radio communication between the remote control and the receiver. In addition, ON3EBD series remote controls contain an NFC (near field communication) chip, through which you can read, for example, the battery status from the remote control or simply duplicate remote controls between each other. You no longer need to stand near the operator, as was the case with older NICE remote controls.
Checking the gate position with the ON3EBD remote control
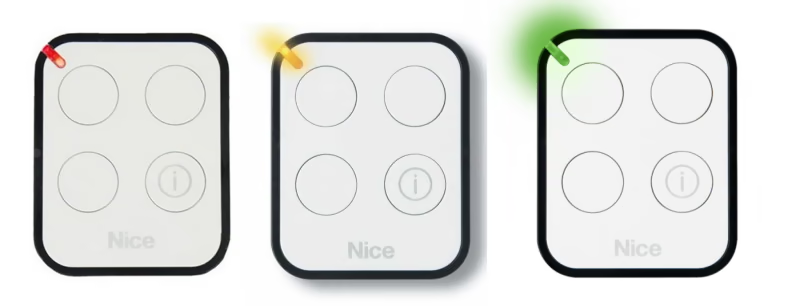
Because the ON3EBD remote control has two-way radio transmission, the user can easily find out the position of the gate. The remote control must of course be within range of the automation being controlled. The function is therefore especially useful when you are at home but do not have a direct view of the garage door or sliding gate.
To check the status, you first briefly press the "i" button at the bottom right and then press the button configured for the operator in question.
If the gate is fully open, the LED on the remote control flashes green.
If the gate is only partly open (e.g. pedestrian access), the LED on the remote control flashes orange.
A red LED flashes if the gate is completely closed.
Checking the battery status of the ON3EBD remote control
ON3EBD remote controls have an integrated NFC chip, which lets us easily check the battery status and whether it needs replacing. The condition, of course, is a mobile phone with an NFC chip.
All we need to do is hold the ON3EBD remote control against the back of the smartphone and wait until a notification appears prompting us to open the browser (Safari in our case).
Once the browser opens, the battery status of the remote control and a brief description of its functions are displayed on the phone as a web page.
Duplicating the ON3EBD remote control using NFC
If you buy a new ON3EBD remote control, it can be programmed using one that already works. The advantage of this procedure is that, unlike with older types of NICE remote controls, you do not have to stand near the operator. You can do this in the comfort of your home.
Copying ON3EBD remote controls:
- Hold the new and the original remote control together, front to front, exactly as shown in the video
- Press and hold the button on the new remote control
- The original, already working remote control starts flashing
- Then press the button on the original remote control whose code you want to transfer
- Green LEDs on both remote controls and a short vibration mean that the code from the original remote control has been copied successfully.
Erasing the memory of the ON3EBD remote control and the OXIBD receiver
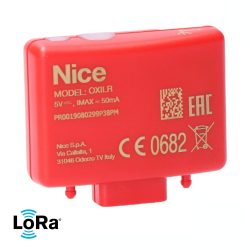
If you need to erase the stored codes from your receiver, this video shows how to completely erase the OXIBD receiver and how to erase the memory of the remote control at the same time.
Erasing the remote control itself is necessary in particular if it has been used in another automation or you need to change the way it works (button assignment, etc.). The ON3EBD remote control remembers that it has already been used with another receiver, and further coding often fails.
Erasing the memory of the ON3EBD remote control:
- On the back of the remote control there is a sliding part that holds the battery. Slide this battery out of the remote control.
- Wait about 10–15 seconds and press the first button on the remote control. While holding it down, put the battery back in.
- The remote control starts flashing and when it lights up red, release the button.
- Then, within 3 seconds, press it briefly once more.
- Fast red flashing means the remote control has been erased successfully.
Erasing the memory of the OXIBD receiver:
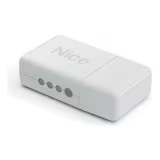
- After removing the cover of the operator or control unit, we have direct access to the internal receiver.
- To erase it, press the button on the receiver and keep it pressed. After a few seconds the LED on the receiver lights up, after a few more seconds it goes out and then, a moment later, starts flashing.
- Release the button exactly at the 3rd flash, and the LED starts flashing like a strobe, which means the codes have been erased from the receiver.
- Finally, the receiver flashes slowly 5 times, confirming that its memory is empty.
Related products
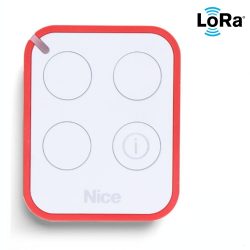
Nice Era One LR ON3ELR remote control, 3-channel, bidirectional LR code, 433 MHz, NFC, long range
Kč908.00 View product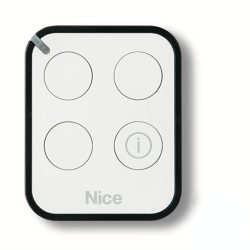
Nice Era One ON3EBD remote control, 3-channel, bidirectional rolling code, 433 MHz
Kč605.00 View product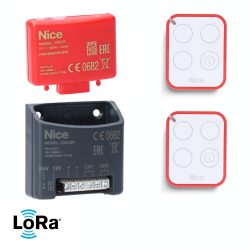
Nice Lo-Ra receiver and remote control kit, bidirectional LR code, 433 MHz, with adapter, range 1 km
Kč3,756.00 View product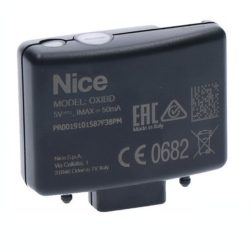
Nice OXI-BD receiver, plug-in, 4-channel, bidirectional rolling code, 433 MHz
Kč1,240.00 View product